André Kertész
André Kertész (1894–1985) is another photographer whose work you should (re)discover in this blog post series on photographers you need to check out. Kertész was born in Budapest, Hungary and started making photographs as a teenager. In 1925, while in his early thirties, he moved to Paris France where he worked as a freelance photographer/photojournalist for himself and for photo magazines. He gained notoriety for his fresh style and interesting compositions, was published in multiple magazines and self published multiple books of his photography. In addition, he had several exhibitions of his work.
About a decade later he moved to the USA where he spent the rest of his working life working as a photographer. He was on exclusive contract with Condé Nast magazine for many years and he always devoted time to his personal work and projects. In his later years he spent a lot of time experimenting with Polaroid photography.
I’ve always admired Kertész’s work because of his attention to the elements that make up a good photograph. For Kertész, the story of a photograph is crafted from everyday people and objects but he managed to make whatever he photographed stand out. He used light, angles, compositions, juxtapositions as well experimenting with alternative photographic techniques to create interesting moods and tell interesting visual stories.
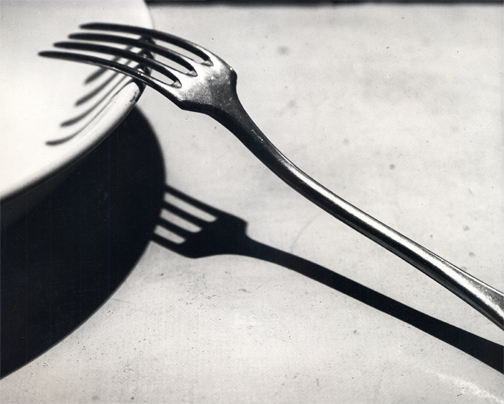
André Kertész — The Fork — 1928
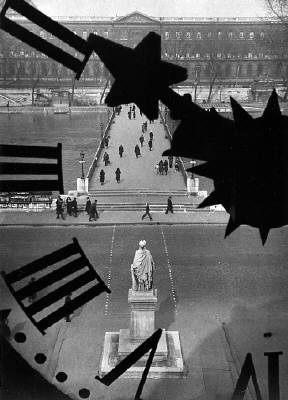
André Kertész — Pont des Arts, Paris — 1929
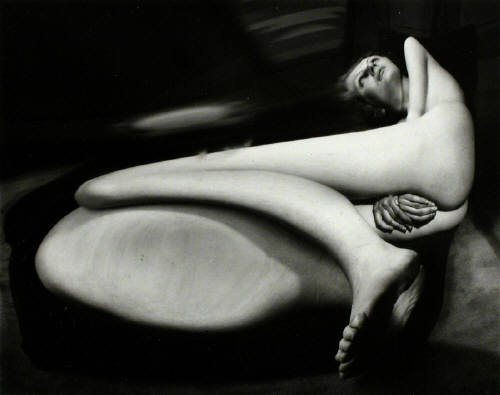
André Kertész — Distortion #40 — 1933
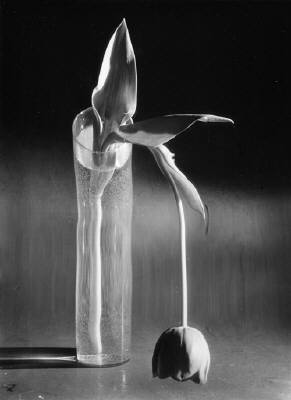
André Kertész — Melancholic Tulip — 1939
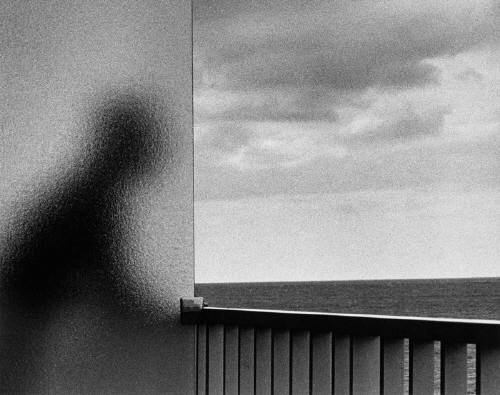
André Kertész — Self portrait — Martinique — 1972
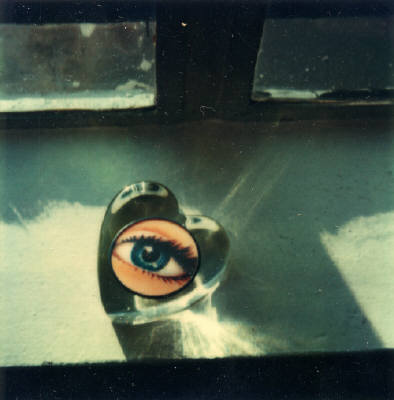
André Kertész — Polaroid — August 13, 1979
Additional André Kertész resources and links:
Wikipedia - André Kertész
Kertész on Photography-now.net — (click the grey link that says Selected Work — over 30 images)
Kertész on Artnet
Kertész’s portfolio at The Stephen Bulger gallery in Toronto, Ontraio