Photography podcast #124 features an interview with Arizona fine art photographer Tony Kuyper. After years of experimentation Tony has developed an intermediate post processing technique NOT based on the pixels that make up the image but rather the brightness levels or tones that make up the image. One of the game changing reasons to work in this way is the tonal control and level of precision you can achieve with your selections and the fact that these selections are naturally perfectly feathered. This is accomplished by creating a luminosity mask (in Gimp, Photoshop Elements or Photoshop) and Tony describes how and why to do this in the podcast.
Although this is an intermediate level podcast, newer photographers might want to listen to get ideas for future study and post-processing play. Tony explains the concepts clearly!
Thanks to The Camera Store (The largest camera store in Calgary, Alberta, Canada) for sponsoring the Photography.ca podcast.
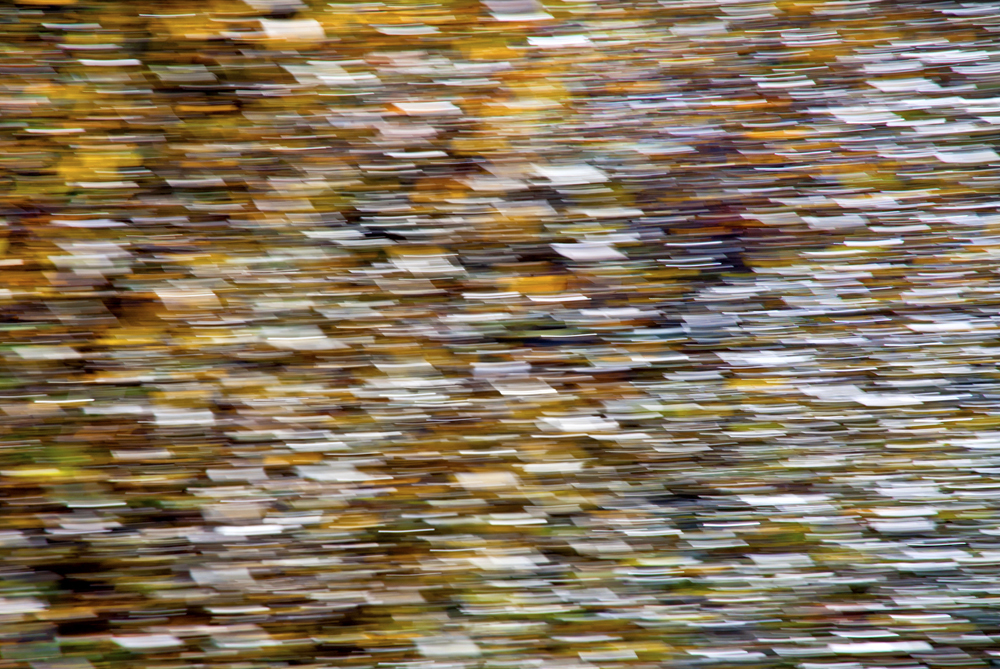
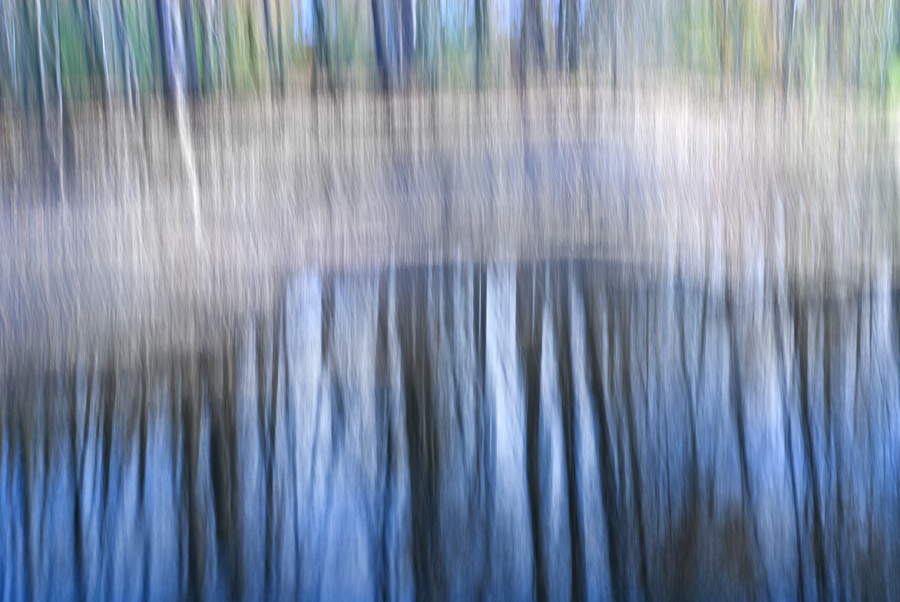
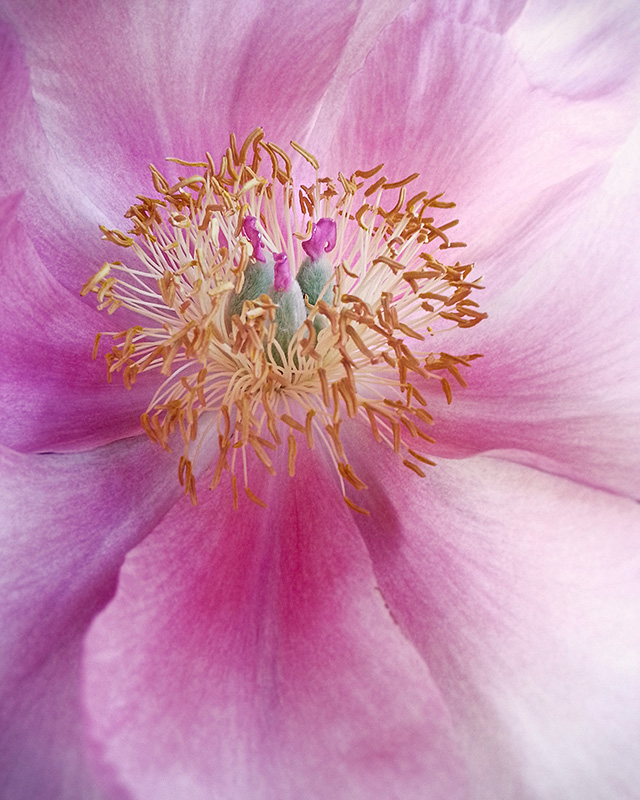
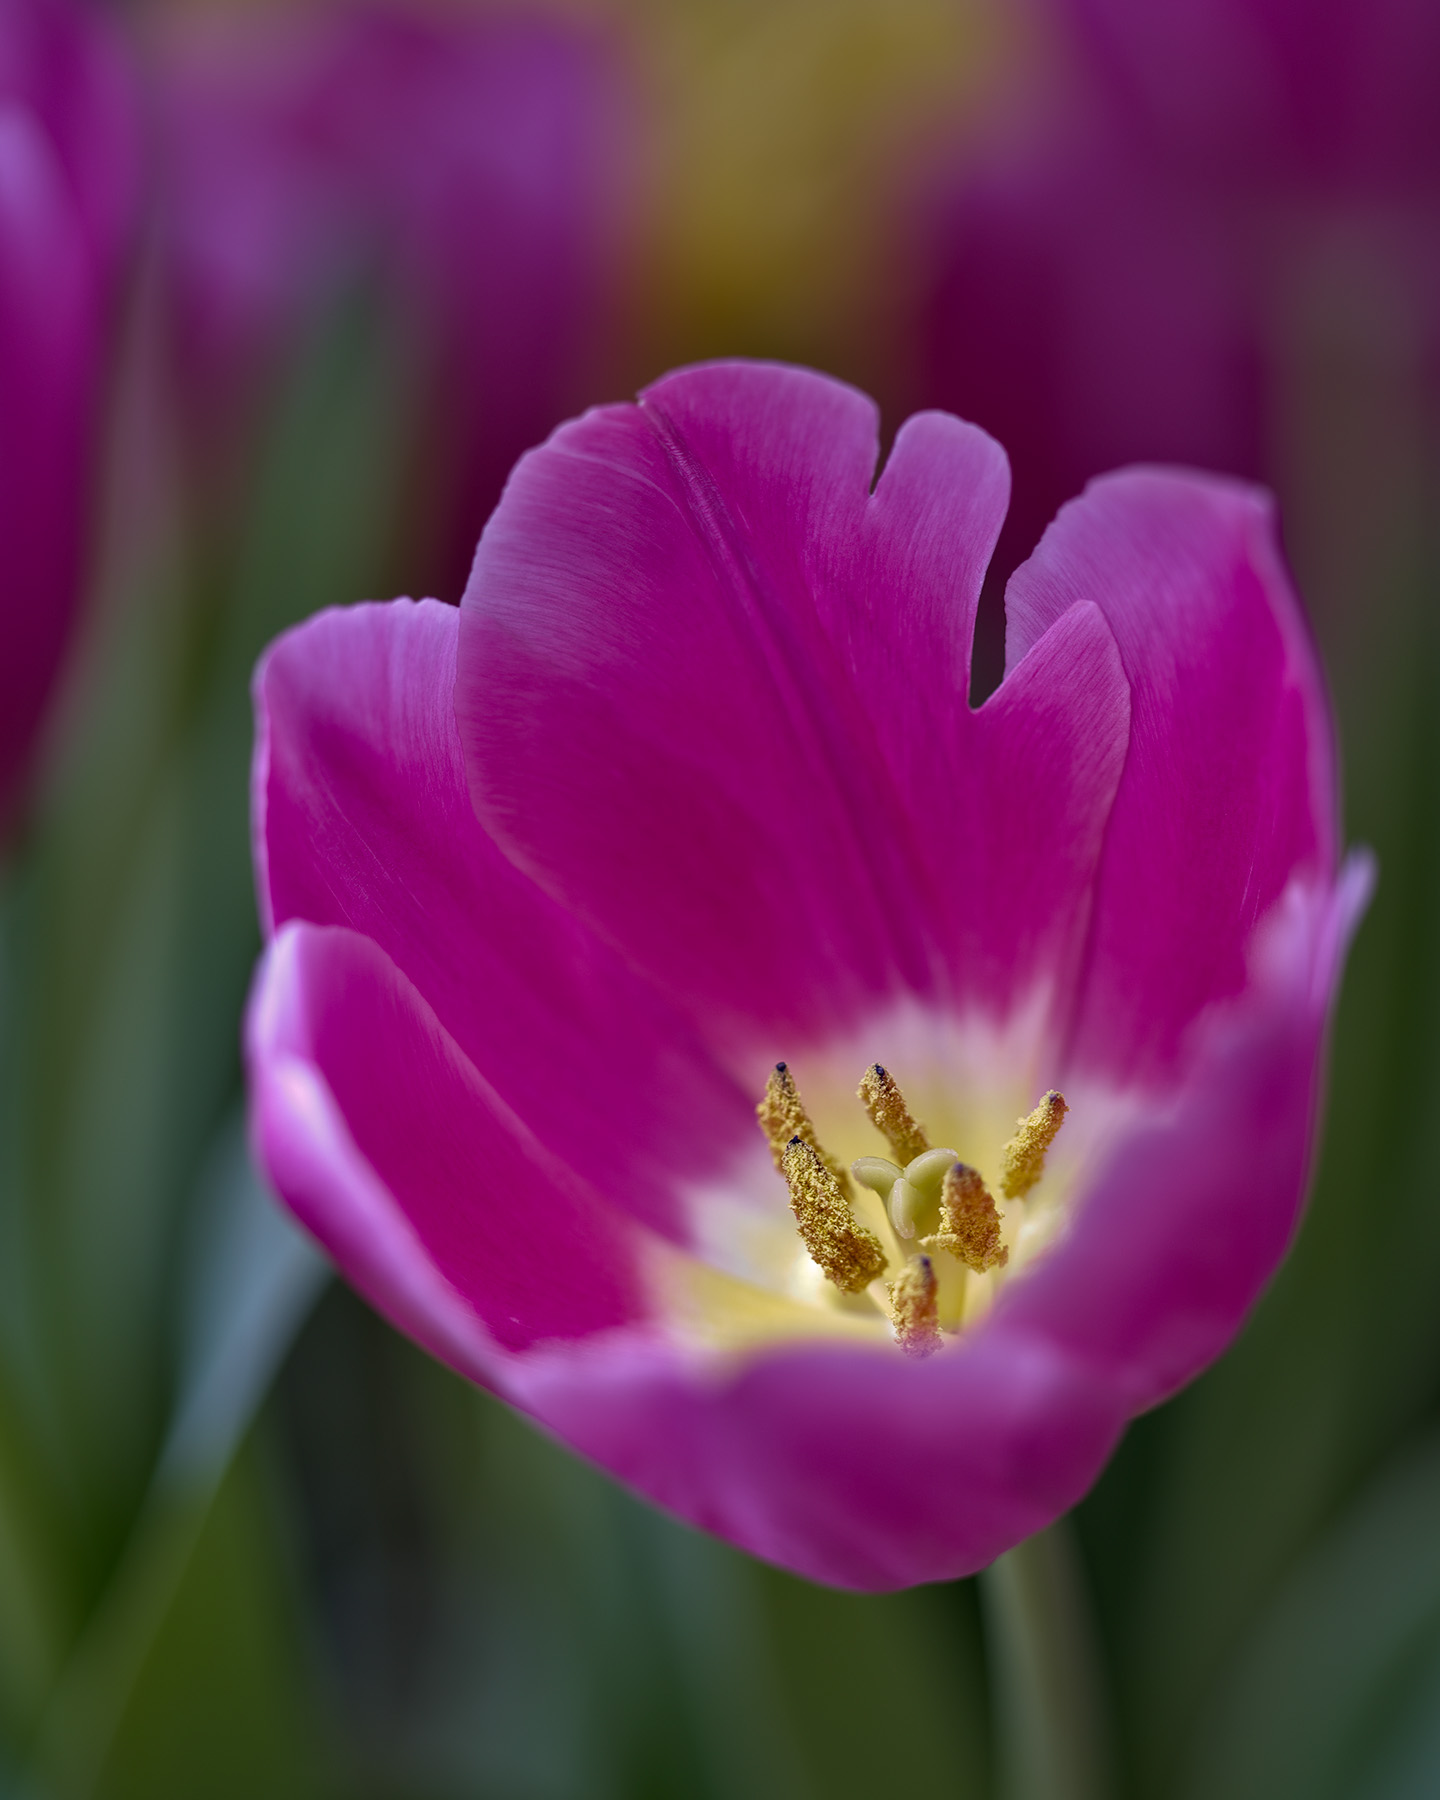
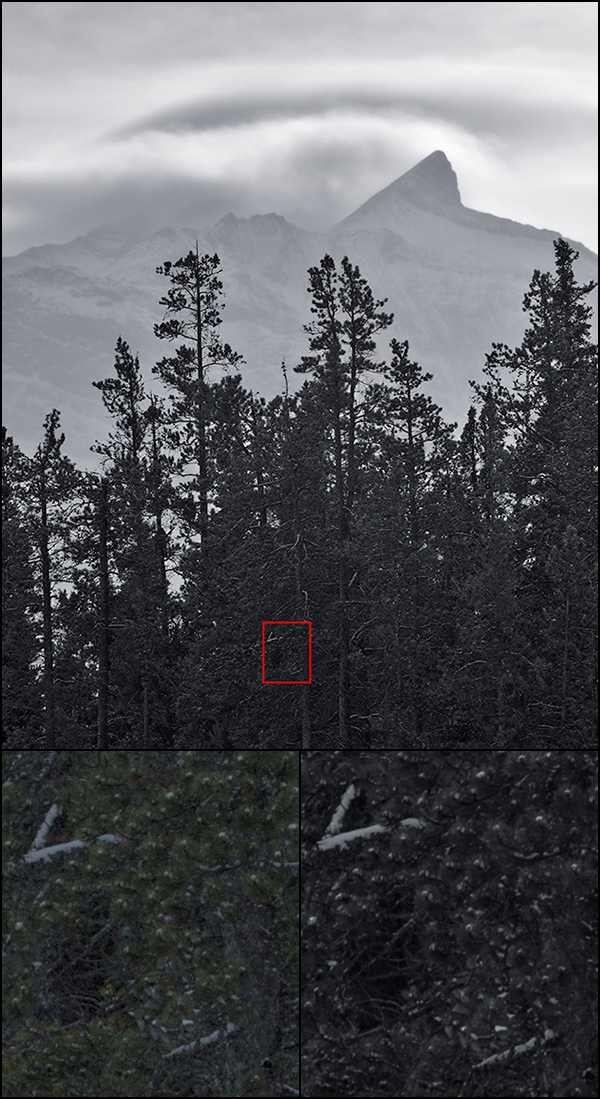
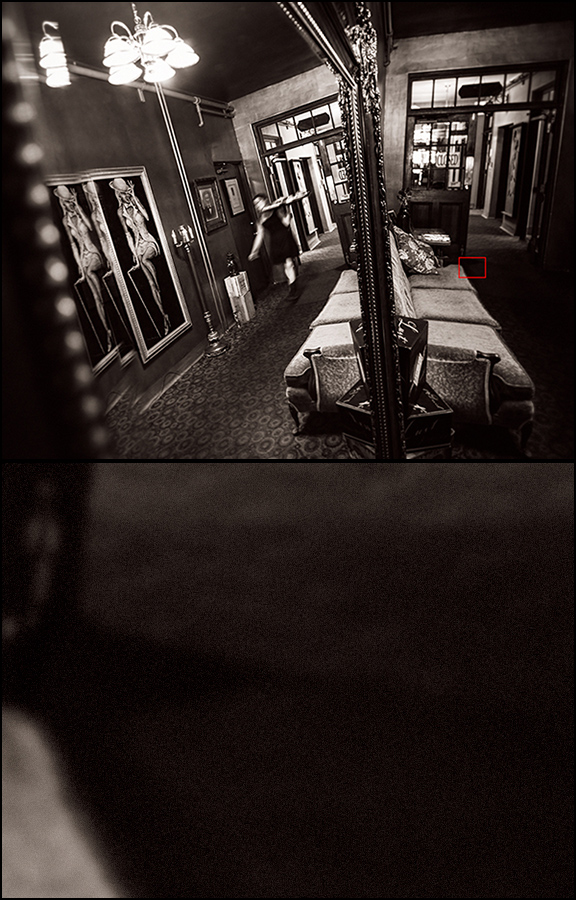
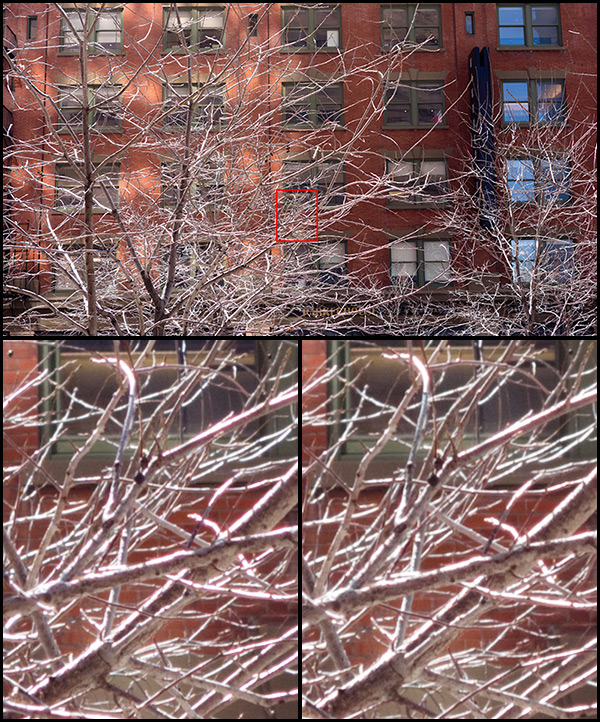
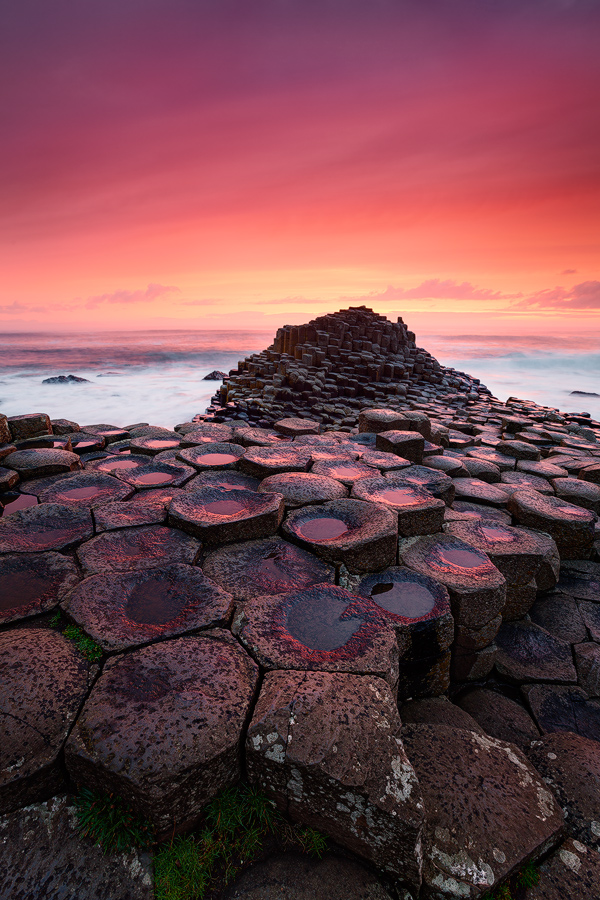
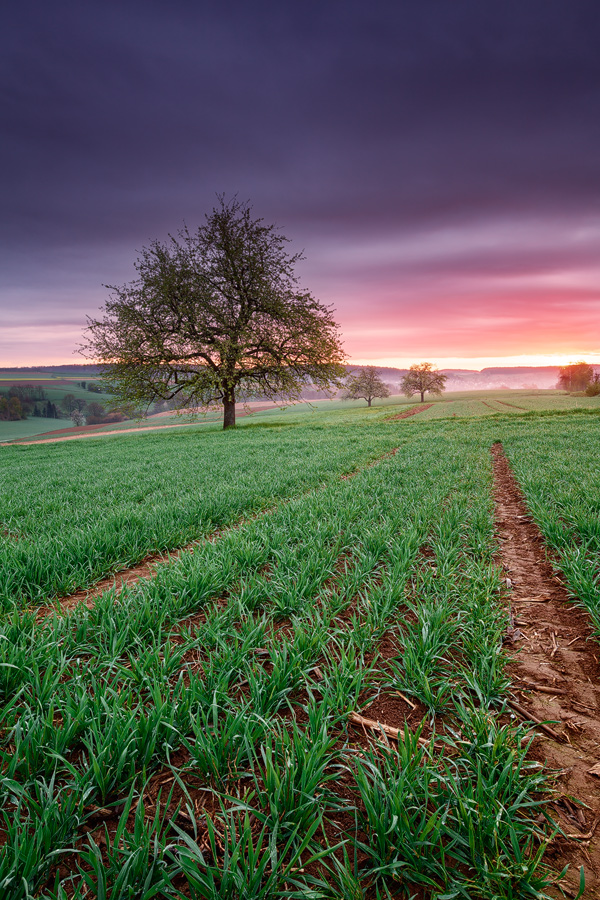
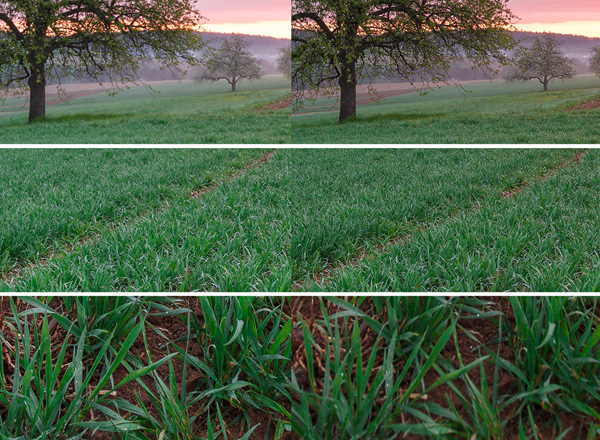
Here are some of Tony’s images processed with and without luminosity masks. You can see that the images processed with the masks ‘sing’ louder.
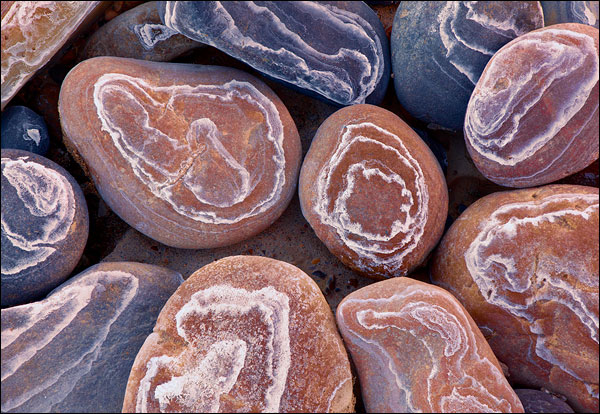
Brine Stones by Tony Kuyper — processed without luminosity masks
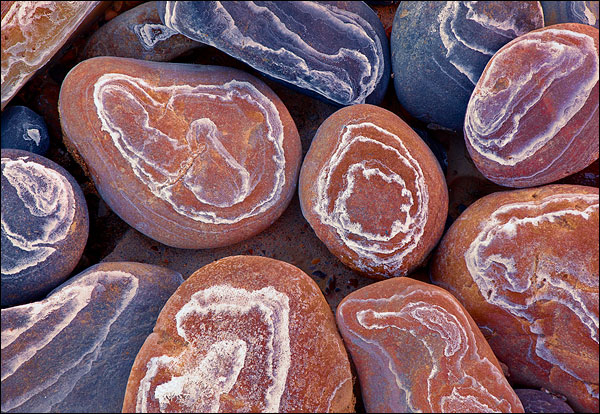
Brine Stones by Tony Kuyper — processed with luminosity masks

Elephant’s Feet by Tony Kuyper processed without luminosity masks

Elephant’s Feet by Tony Kuyper processed with luminosity masks
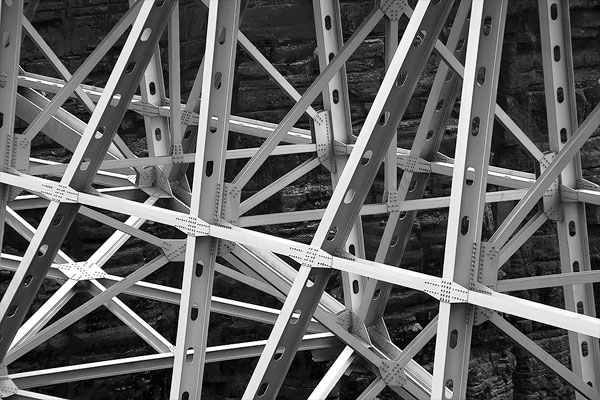
Navajo Bridge by Tony Kuyper processed without luminosity masks
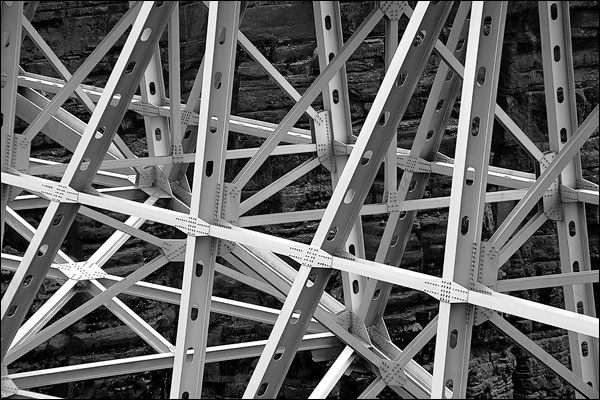
Navajo Bridge by Tony Kuyper processed with luminosity masks
Links /resources mentioned in this podcast:
Luminosity masks — Tutorial on Tony’s site
Tony’s tutorials page
GIMP luminosity mask tutorial
Photography assignment on our forum — Space
Level 2 photography assignment on our forum — Diptychs
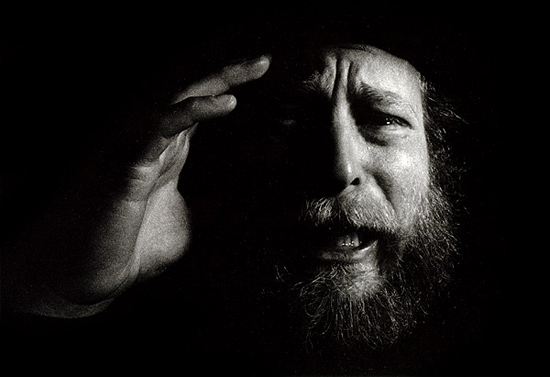
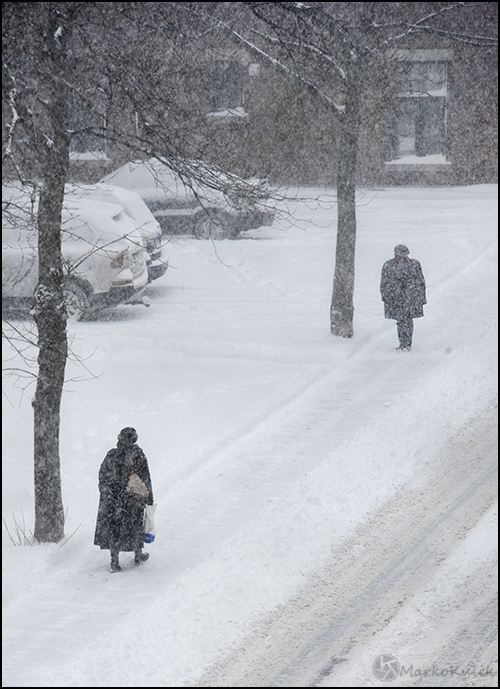
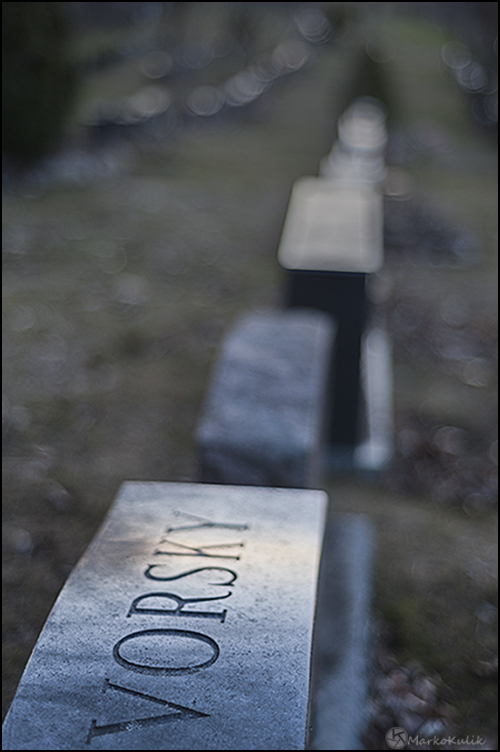
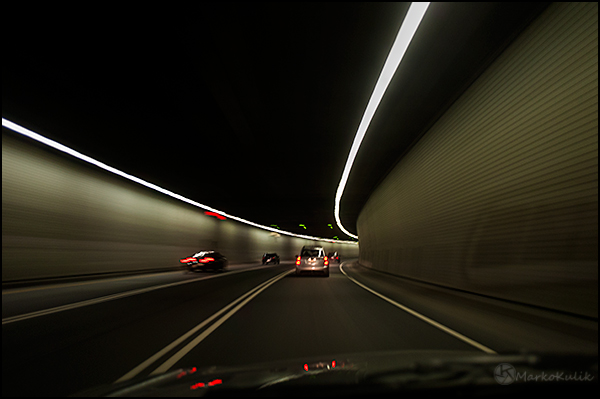
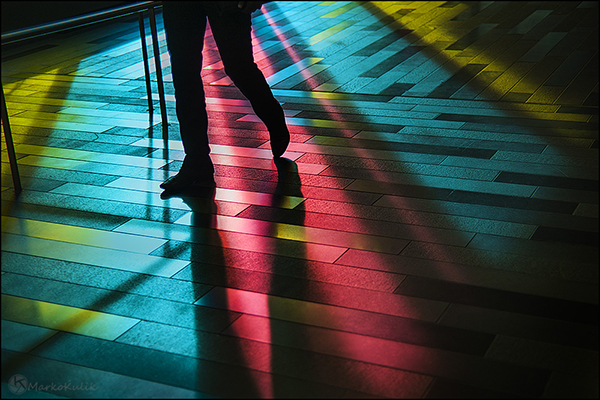
Illuminight — Photography exhibition by Marko Kulik
If you liked this podcast and want to review it on Itunes, this link gets you to the main page
If you are interested in writing for our blog please contact me photography.ca ( A T ) G m ail Dot co m (using standard email formatting)
Please join the Photography.ca fan page on Facebook
My Facebook profile — Feel free to “friend” me — please just mention Photography.ca
My Twitter page — I will follow you if you follow me — Let’s connect — PLEASE email me and tell me who you are in case I don’t reciprocate because I think you are a spammer.
If you are still lurking on our forum,
feel free to join our friendly ![]() Photography forum
Photography forum
Thanks as well to Mike Bons, Lucy 72, Jimmy Brown, and Darnell B who posted comments directly on the blog. Although ALL comments are appreciated, commenting directly in this blog is preferred. Thanks as well to all the new members of the bulletin board.
If you are looking at this material on any other site except Photography.ca — Please hop on over to the Photography.ca blog and podcast and get this and other photography info directly from the source. |Subscribe with iTunes|Subscribe via RSS feed |Subscribe for free to the Photography podcast — Photography.ca and get all the posts/podcasts by Email
You can download this photography podcast directly by clicking the preceding link or listen to it almost immediately with the embedded player.
Thanks for listening and keep on shooting!
Podcast: Play in new window | Download