I love photography and as much as I try to get the image right in camera when I press the shutter release there are just some times when you need adjust some overexposed bits or possibly do some custom editing to create a miniature look or selective colouring. Whatever the reason might be there will be times when you need to edit your images. A full out copy of Photoshop is more than $500. Even Photoshop Elements clocks in at $100 or so which is not super expensive but still, if I have an extra $100 I’m putting it towards a new lens or maybe that new tripod that I need.
In my last blog for Photography.ca I wrote about Picasa. Picasa does a wonderful job of basic photo editing, however, it just doesn’t cut it for anything really detailed. When I need more detailed editing capabilities I use Gimp. Gimp is a wonderful piece of software available for free use for Windows and Mac users as well as the original Unix platform. A companion product called ufRAW, also free, allows Gimp to open and edit RAW image files and since I shoot almost exclusively in RAW format it was a necessary add-on.
Gimp will do a lot more than I am capable of doing and I have still used it to do some amazing things. Like Photoshop it allows you to edit images using multiple layers, has many different filters and scripts that can change the look of your images (or parts of it) and also provides many different tools to work on your images. In this blog post I’ll edit an image and provide some screen shots to give you an idea of the capabilities of this wonderful piece of software, however, to really learn how to use it visit the tutorials page on the Gimp site.
In order to give you the broadest tour possible I will take an original image where I’ve done a fair bit of work on the image and walk you through the editing steps that I took to get it the way I wanted. Some of you out there may be much better at photo editing and so you will undoubtedly see areas where I am doing something wrong. Please feel free to comment below so I can learn more about how to do this stuff properly.
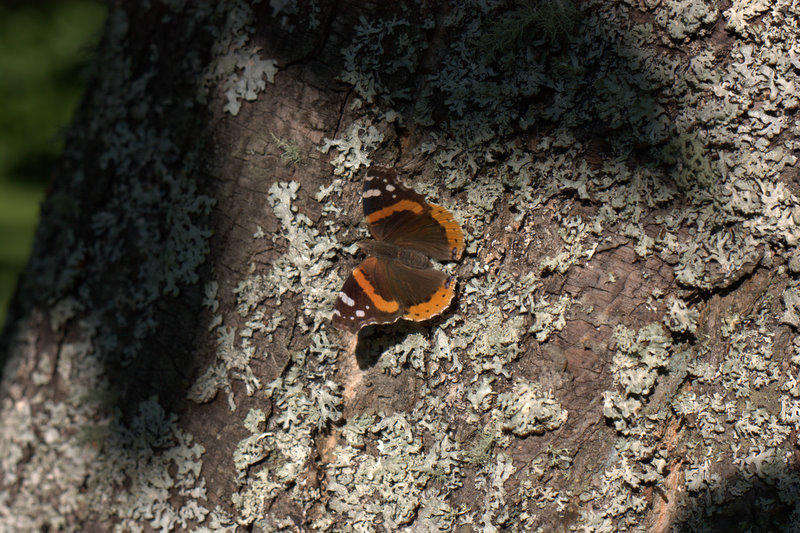
Let’s start with this photograph of a butterfly. Here’s the JPEG version created by exporting from Picasa with default settings. All things considered it’s not a horrible shot of the butterfly but the composition is kind of blah and the butterfly’s camouflage makes it difficult to see. Let’s open it in Gimp to see what we can do with this boring image.
First up, since it’s a RAW and I have ufRAW installed it automatically opens in ufRAW for me. Here I can make adjustments to the RAW image before jumping into the Gimp editor proper. For this image I’m going to make a few adjustments here so I end up in Gimp with the basics already completed. This is the general process for me.
- From Picasa I right click and select Open in Gimp.
- It automatically opens in ufRAW because it’s a RAW image.
- I’ve clipped a few highlights 0.1% and so I adjust the black levels a touch to eliminate those.
- I then adjust the curves to boost the overall exposure to where I like the image.
- Using the crop/rotate/size adjust tab I select a pleasing crop which puts the butterfly on an intersection of thirds and gives him space to “fly into”. Note the grid lines allow me to do this easily.
- Clicking OK transfers the image into Gimp for further editing where I adjust the colour levels and pump up the saturation on this one to give that butterfly a little more life.
- Next, I’m going to do some selective colouring to really make him stand out. So, I’ll duplicate the layer so I now have two butterflies.
- Change the top layer to B&W and create a layer mask that I paint through to expose the butterfly.
- I switched to the colour layer and added a touch of unsharp mask to sharpen up the image.
- Last, to finish it off, I add a couple of borders, first white, then black and save as a JPEG.
1 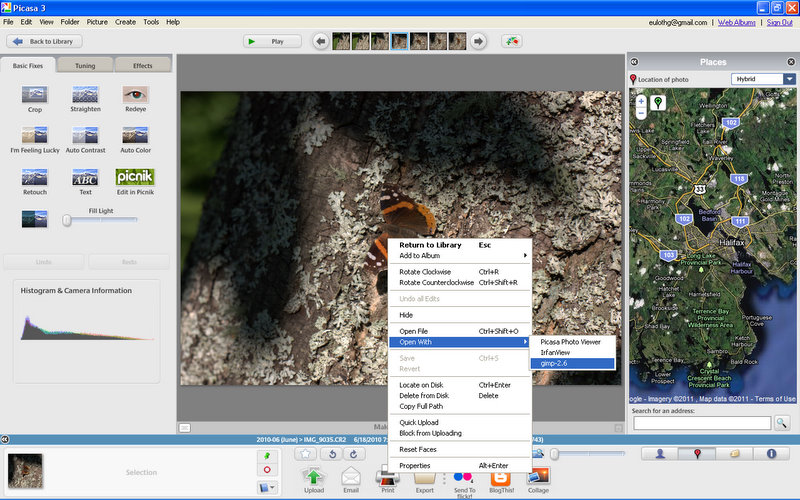 2
2 
3  4
4 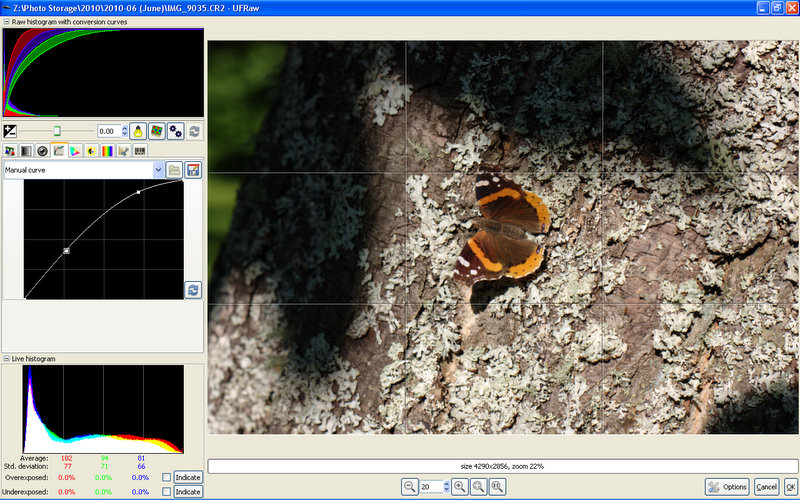
5 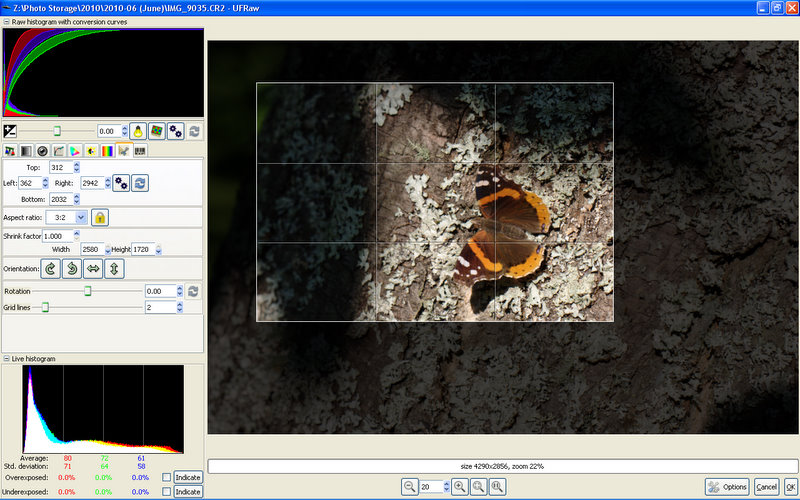 6a
6a 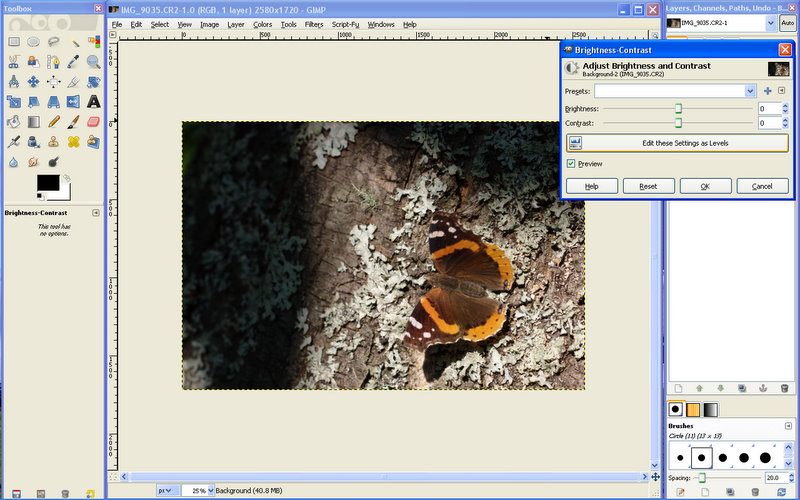
6b 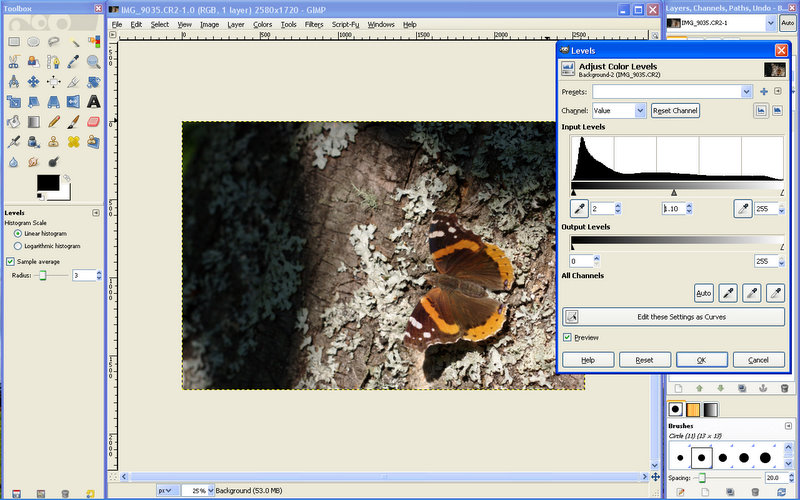 6c
6c 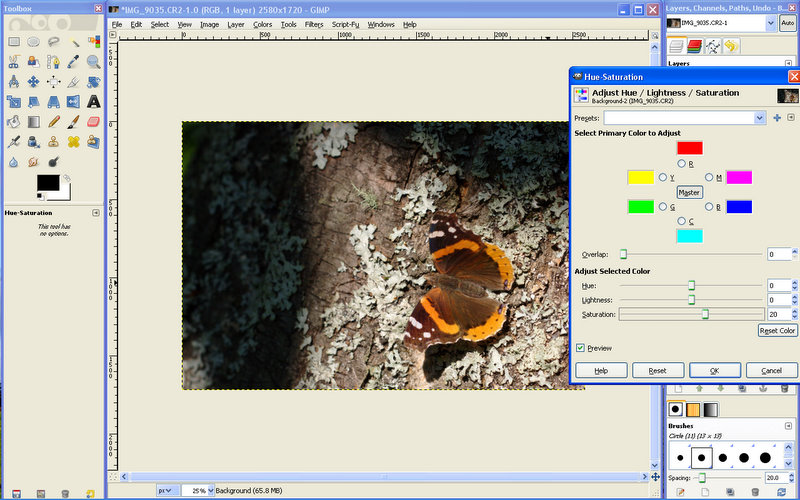
7 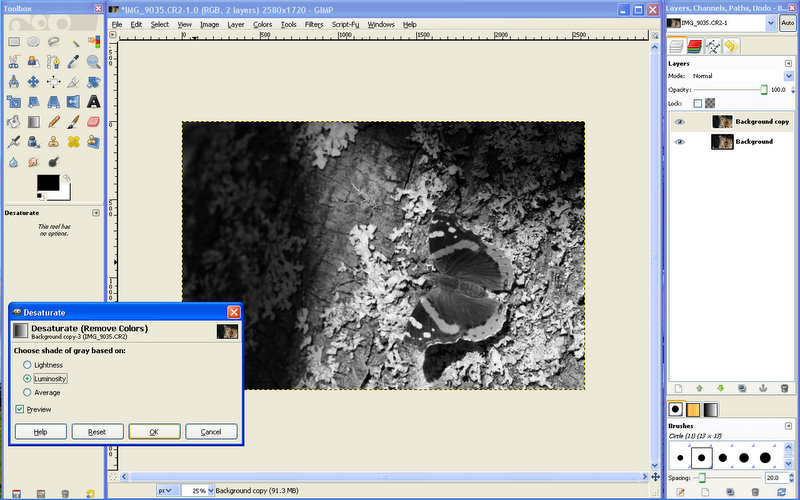 8a
8a 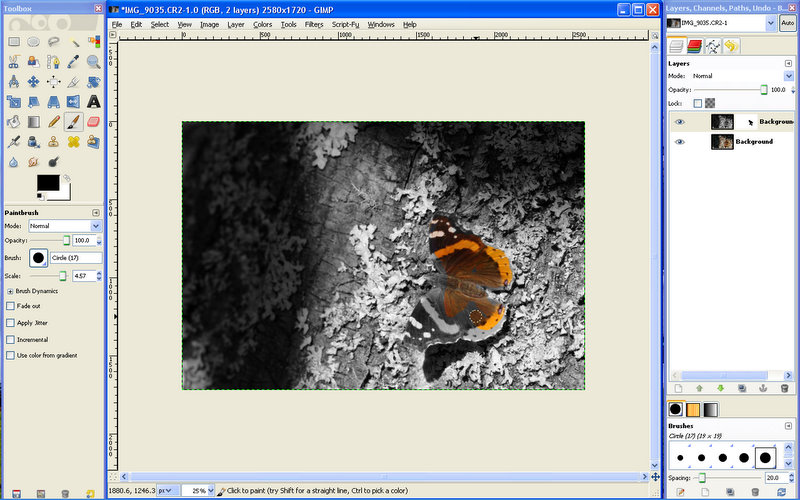
8b 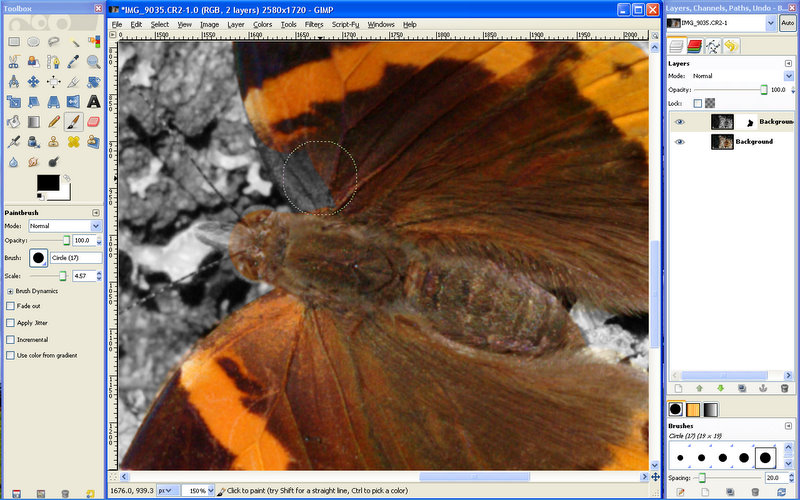 8c
8c 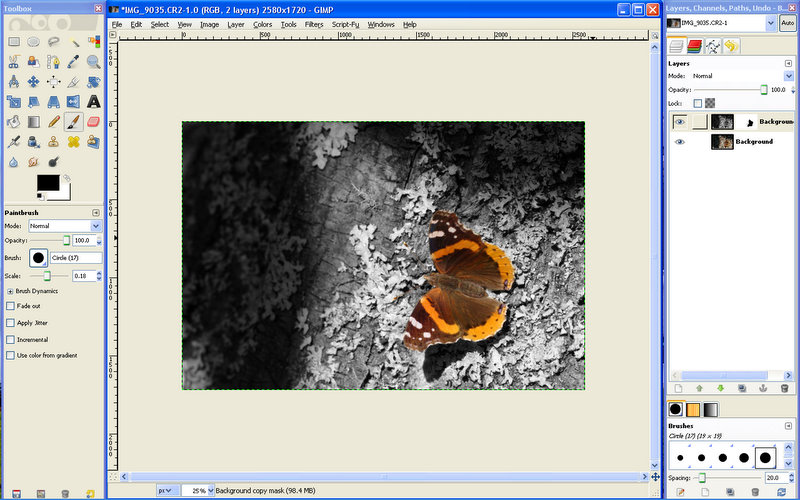
9a 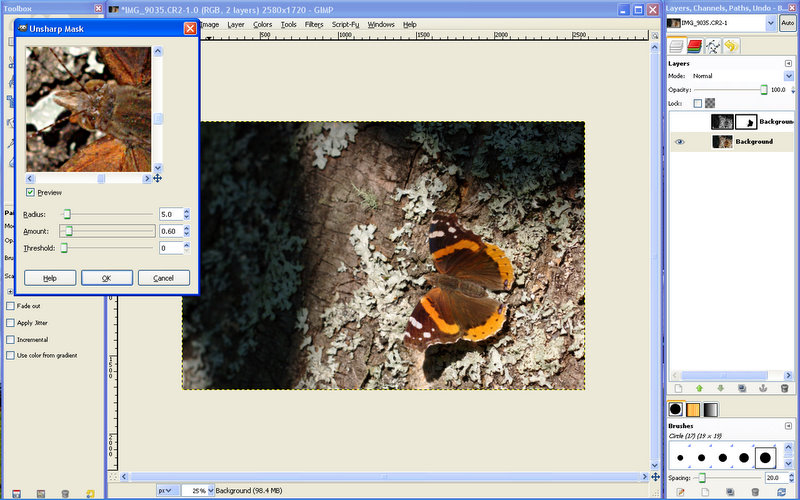 9b
9b 
10a  10b
10b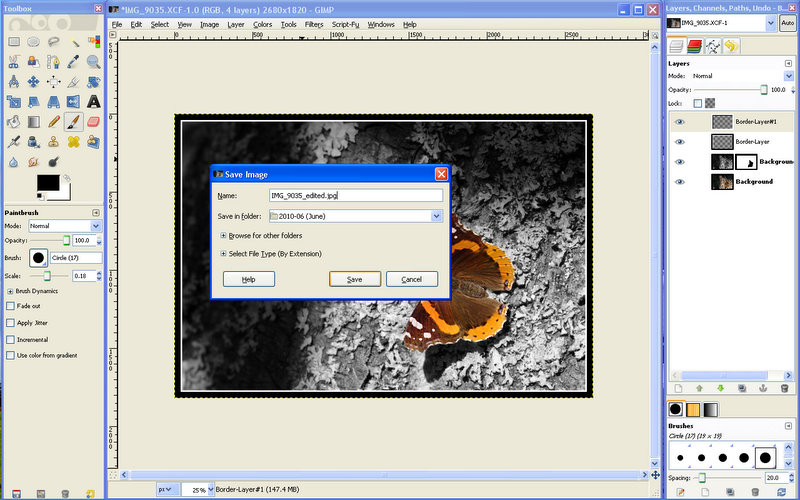
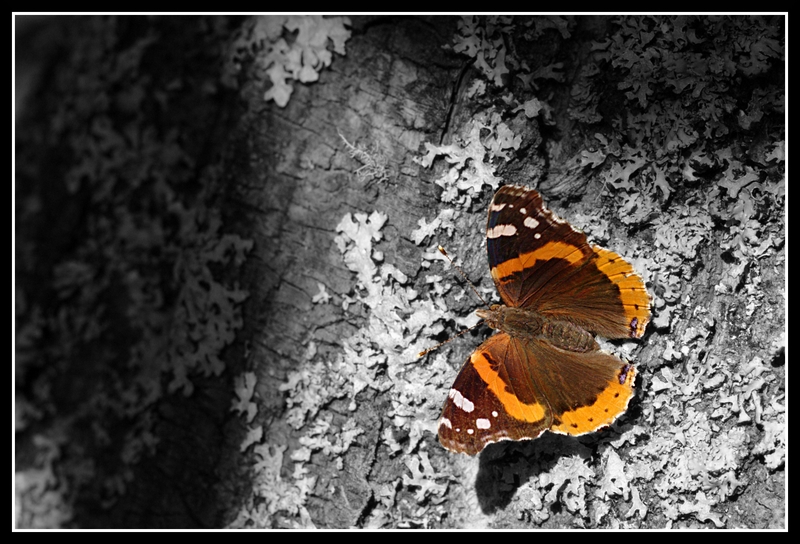
That’s it! Here’s the result:
Living in Halifax, Nova Scotia, Glenn Euloth enjoys travelling on the photographic journey. Visit www.euloth.com to join him on the trip or find him on our photography forum under the nickname of Iguanasan.


