
 LinkBack URL
 About LinkBacks
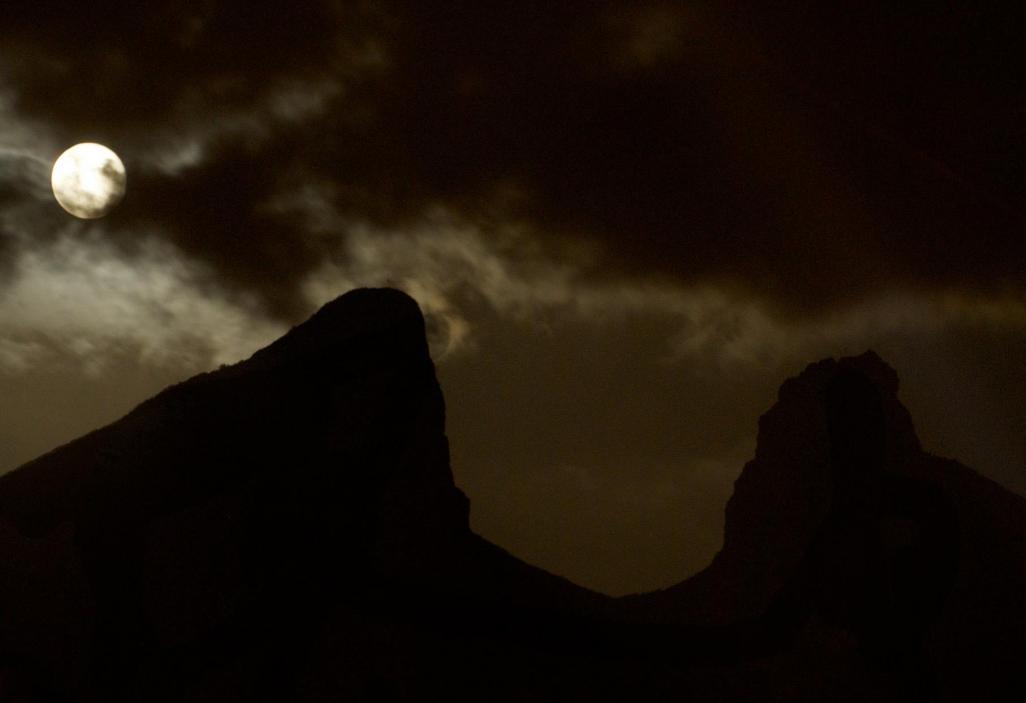
Hi everyone! The other night the moon was rising above this mountain, (in case you are curious, it is called the "cerro de la silla", it is the symbol of Monterrey), so I thought I would try to capture it. I tried with many different settings and could not get it as I wanted. At the end this is the best I achieved. I just could not find a balance between aperture and shutter speed in order to get the moon to be sharper. If I tried a faster shutter speed, it was too dark. Any ideas on how this could have been done?
Thanks!


 Reply With Quote


Bookmarks