
 LinkBack URL
 About LinkBacks
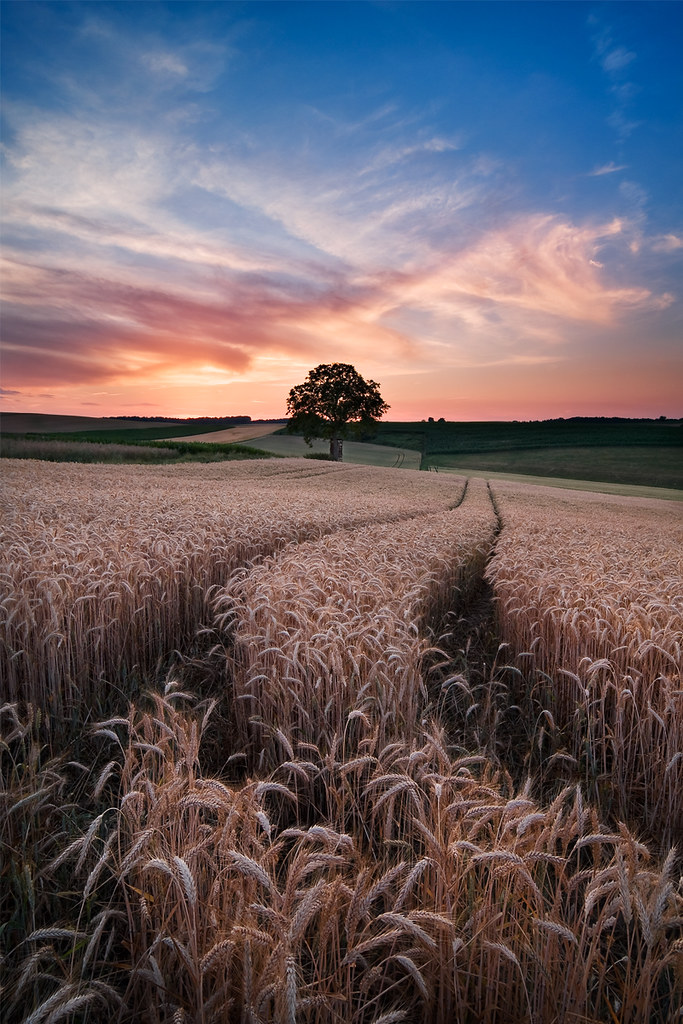
Yesterday evening the time was due for the sunset I had waited for more than 3 months since I discovered this place. Everytime I went there I had either a clear sky which also looked quite nice or the sky just didn't have the right color to harmonize with the field. As I was drivin to Heidelberg yesterday I noticed some nice soft clouds building up in the sky, not real clouds just those soft strokes of white and I thought well let's give it a try this might get nice. And finally I was rewarded, the 5th or sixth time I went to this location all was in place. The field had turned golden, no wind so I could get a sharp shot of the field, beautiful sky and great sunset.
I'm quite happy that I didn't skrew it :-) I did focusstacking with f/11 here + 3 exposure bracketing + I used my Lee 0.6 GND. All in place and this was the last shot I took.
Only thing which wasen't so perfect where the mosquitos and me wearing shorts in this field. wow this was quite itching :-)
Here's the shot -> "Summer Glow"
have a nice weekend!


 Reply With Quote


 - Please connect with me further

Bookmarks